A big box of goodies arrived from Summit in the US of A this week. I’d decided to get a few bits and see how much they cost me by the time I’d paid all the shipping and VAT on it. A set of Patriot headers and a Holley fuel pump were amongst the bits I got, so when I got home from work, I decided to check it all fitted. First bit out of the box was a duel feed line for the carb. It didn’t fit by a mile (The fittings were 3/8″ and the Holley is 7/8″!). OK. Lets try the fuel pump. It wouldn’t fit as the outlets fouled the chassis. I felt like crying.
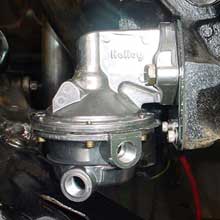
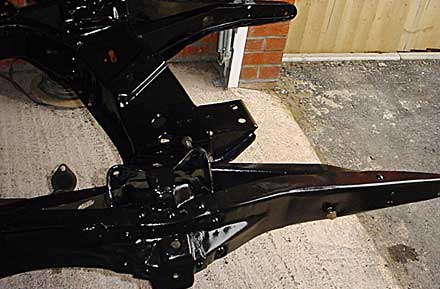
Rather than pay to send it back, I decided to take the pump to bits and see if you could turn the bottom half around. Turns out you can. Not so bad after all! Saturday I decided to bolt the front suspension together, minus the springs and shocks which I haven’t got yet. As it was all new, and the A Arms are freshly powdercoated, it went together easily. Apart from dropping the spindles on my head as I got the box down from the roof it was all pretty painless. By the time I packed up for the day, it had started to look like a car again.
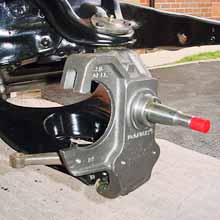
Sunday I decided to try the new discs on, just to see what they looked like. They look the business, but there’s no point bolting them on yet as I need to put the springs in first. As the starter was on as well, and I couldn’t turn the motor over with a spanner, I decided to spin it over on the battery. My trusty bit of cable that I’d used to start the original engine was dug out, and connected to the starter. A pair of jump leads later and I was ready to go. Im always nervous doing stuff like this for the first time, so I touched the wires together quickly and over it went.
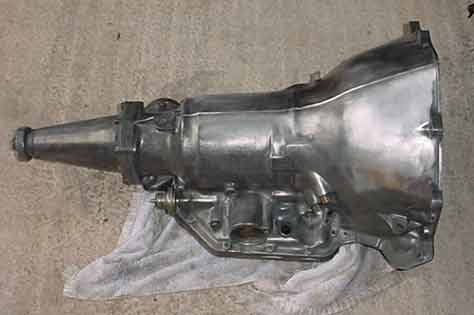
It didn’t sound right, and I guessed it was binding on the string holding the torque converter in place. I disconnected the battery and crawled under to bolt it up properly. It was then I realised I didn’t have a 12 point socket small enough to do up the ARP bolts i’d bought. Ah well. Finger tight for now, and bolt them up properly before I run the engine. Bumped it over a few times to get to the bolts, and it was spinning slowly. My battery was low. Quick charge while I took off the rocker covers to help me find Top Dead Centre. Five minutes on the charger gave me enough to spin it over with my finger over Number one plug hole to feel for compression. First time I’d ever done it, and there’s no mistaking when it’s on compression with a big hiss of air. There’s no timing mark on the timing cover, so I spun it over a few times till I got it roughly where I thought it should be. It was then I noticed the pool of oil under the car. Checking over the engine, it turned out it was coming from the top. Broken gasket? Split in the manifold? Err no. No oil pressure sender. Phew.
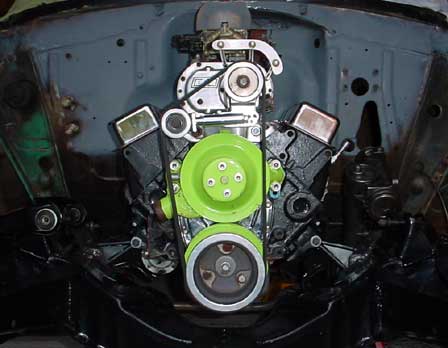

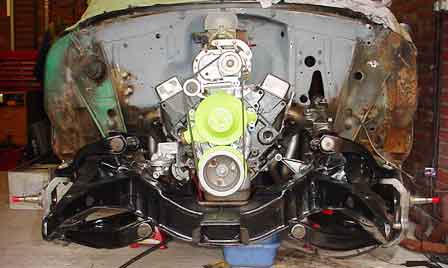
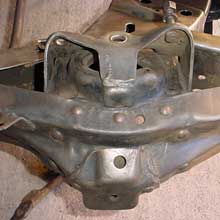
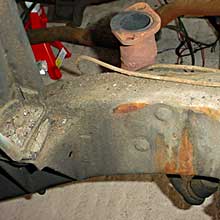
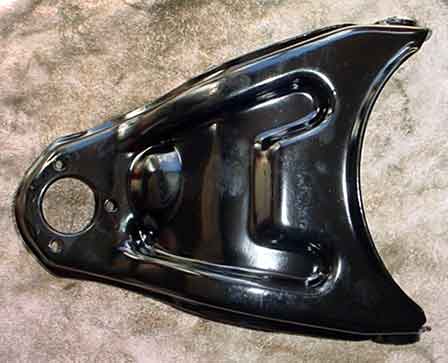 Before I could do any assembly I had to do more cleaning. The crossbars were as manky as the rest of the car was when I got it. A little while with the wire brush got the worst of the grime off before it got sprayed everywhere by the grinder wire brush. I got the vice out and put it on the floor to hold the parts while I cleaned. Not for much longer though. I ordered a shed this week, so I’ll finally have space for a workbench. I started to try and push the new bushings in using wooden blocks and a hammer.
 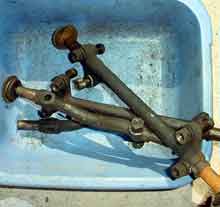 This was the first time I’d done this and didn’t know it would be so hard. The upper arms have a lot of flex in them, so they tend to spring rather than push the bushings in. It took me two hours to get them in on the first arm, and I realised that I was wasting my time. I decided to take the other three to the garage that pressed them out for me in the first place. I filed them out, took the bushings apart and got them in far enough to hold the crossbars for the arms in. With a bit of luck, the ball joints will be here this week. Might get some of the car back together next weekend!
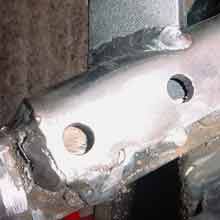 It keeps cutting off before you can get a decent weld going, and I end up with a load of poor welds that need to be ground off. So I did. Couple of tacks on the other side, just as bad. Hmmm. I gave up for the day and decided to try again on Sunday on some scrap metal. Same problem. Hmmm. Then it dawned on me. One of the dials is a spot weld timer. Set it to maximum and I can weld properly. Well better anyway!
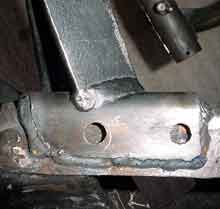
 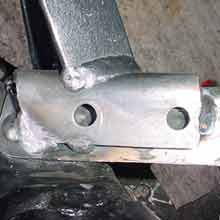 Couple of decent tack welds either end of the drivers side bracket and a few over some of the ground out bad welds on the passenger side and it was time to try again with the engine hanging on the new brackets. Fit like a glove. Well a boxing glove. the brackets are both flat against the frame, and the top rivet. But the passenger side one is a few degrees different. The motor fits on, but its still different. It looks like a different angle to the other bracket. Ah well. I have just enough clearance for a HEI (I Think!), but i’ve got a normal sized distributor anyway. I’ll look at this again when I get my trans crossmember.
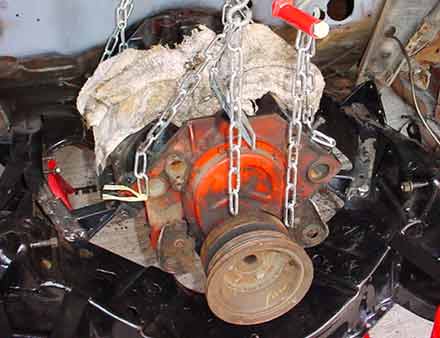
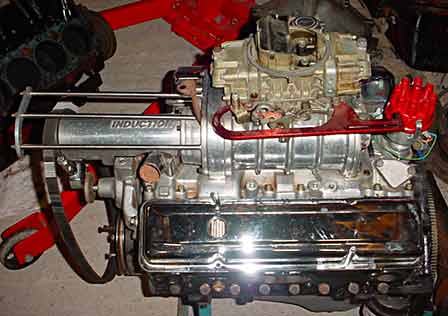
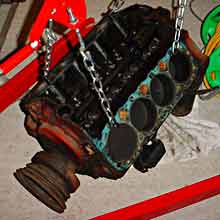
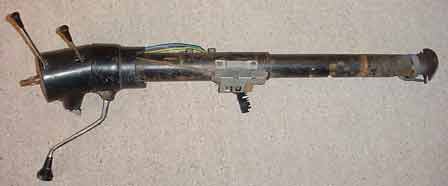
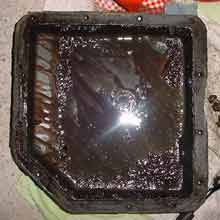
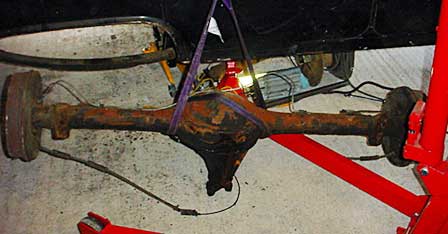
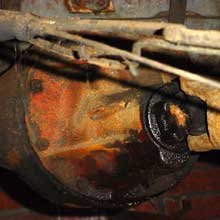 There was no oil on the floor underneath it in the garage, so It was either out of oil, or wasn’t leaking that quickly. The gasket looked like it had come out, and it needed a clean so pull it out, clean it and check it I thought. I thought about it for a while, then undid the shocks and hangers. Right. Lift it out over the springs now. I never really thought how heavy it would be. I had to lift it sideways by hand, and then jacked it up in the centre.
 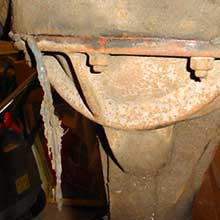 It didn’t slide easily on the jack, and I gave up and used the engine hoist to pull it out the rest of the way. I put it on the floor, balanced it up, and lifted it diff down to look at it. The gasket turned out to be silicone that had been run round the edge. I gave it a quick clean off with white spirit, and left it hang overnight. Next day there was a puddle of oil that was like gloss paint on the floor. Rebuild it then. Or swap it for something beefier. Hmmm.