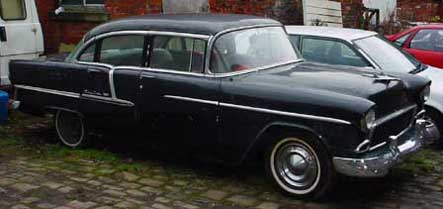
Removing the Front Suspension

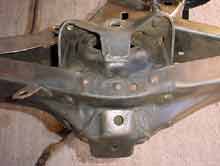
I finally went and got some spring compressors from Halfords. The car was on axle stands, so I set about taking the passenger side shock absorber off. One bolt came out, the other just spun. An hour later it was still in there. I could have ground it off, but I’d have to drill the rest out and tap it. And I was determined not to.I ended up with a claw hammer wedged in between it and the bottom arm, pressing it with my foot, and after another half hour with the ratchet. But it came out. I think it’s been overtightened with an air gun or something in the past. With the shock out, I put one of the compressors inside the spring. The jaws are too wide to go between each section of the spring, so I had to force it in as best I could.
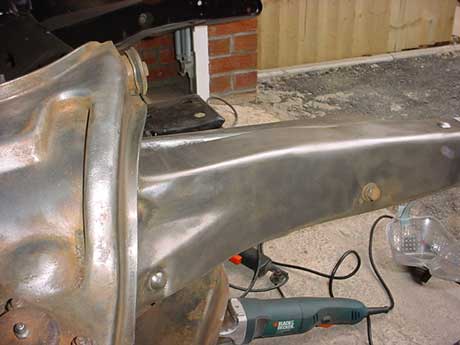
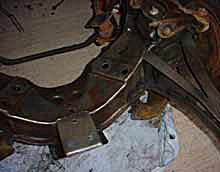
PS_Frame_Clean.jpg

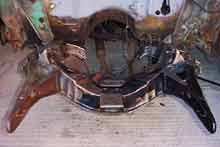
I got it to bite eventually, but couldn’t get the other one on as well. I got it as tight as I could with a spanner, and jacked the suspension up with a trolley jack to help compress the spring. I did the last few turns of the bolts from as far away as I could reach. Just as well as it all popped quite violently off. Mental note not to do the same with the other side!. With the hekp of my new best toy, the grinder brush and a chisel I soon had the frame down to bare metal.
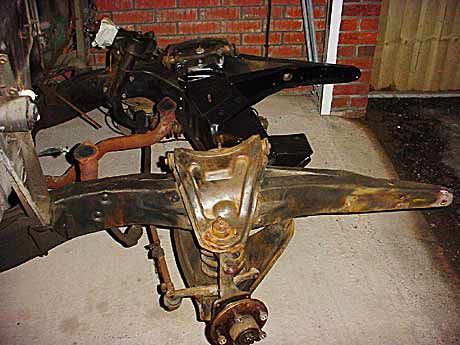
Frame_No_A_Arms.jpg

The firewall had some light rust on it from bare metalling it the week before, so I gave it a quick once over with the drill wire brush, washed it down with white spirit and gave it a quick spray with some primer. Another mental note to do things in sequence. That was it for the weekend, as I had to do family stuff as well. The following weekend, I finally decided to get my own socket set and give my Dad his back at last!.

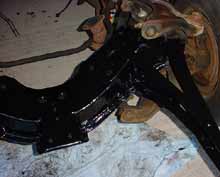
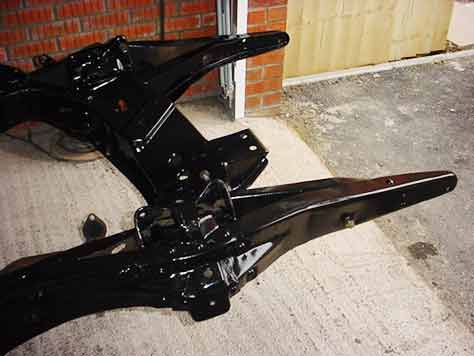
The other side needed stripping, and with my new Teng socket set, it came off in about an hour! (I used both compressors this time!). Another few hours of cleaning and degreasing and it was time to get everything painted. Shiny black paint doesnt photograph well, so it’s not too exciting to look at for you, but I’m happy!
Shiny_Black_Frame.jpg

Right Tools for The Job

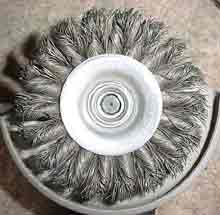
After spending a few more hours with the wire brush on the drill, I began to realise that it wasn’t working that well.

EvilBrush.jpg

After a bit of net searching, I found a wire brush attachment for a grinder. A trip to the DIY this morning and I bought one along with a different one for the drill. It’s an evil looking thing.
I was worried how much damage it would do, so I had a go of it on the frame. Sparks, deafening noise and… Bare metal. Not a mark. No underseal, no rust. Amazing. Within a few minutes I’d cleaned an area that would take about an hour with the drill.

FrameLikeNew.jpg

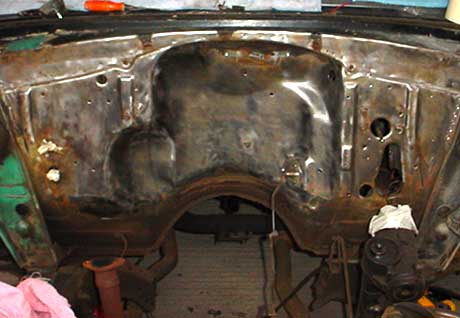
So onto the firewall. Another hour, and I’ve got shiny metal. compare it to what it looked like a week ago. It’s too cold to do anymore, and Im covered in cuts from flying underseal shrapnel. I’ll do some more next week when I get some spring compressors.

FirewallMetal.jpg

Getting ready for disc brakes

Got a few hours to work on the car this morning, so I carried on cleaning the front and took off the front wheels and drum brakes. There’s a set of 2″ dropped spindles and disc brakes on it’s way from the US via Tris-R-Us. 48 years of mud and oil takes a long time to shift. I think this is going to kill my drill. It doesn’t sound so good anymore.

Frame_getting_cleaner.jpg

Had a quick go at the firewall while I was in between the front rails. The wire brush hardly touched it. I think It’ll need media blasting to get the paint off sensibly.

Firewall.jpg

Cleaning The Front End

There was 47 years of grime covering the front end of the car. After scraping half an inch of oil and underseal off it looked a load better. Now I could actually see the brake lines, I could take them off.

FrameScraped.jpg

They are kinked and crushed in places, so I hacksawed through them and removed the master cylinder. After 5 minutes with a wire brush, I got the drill out and used the wire brush attachment!.

FrameCleaned.jpg

Three hours later, I had clean metal but it was starting to get dark and rain. Rather than leave all this bare metal in a damp garage, I decided to clean the grease off with white spirit followed by thinners.

FramePainted.jpg

A quick coat of black Smootherite later, and the frame started to look as good as new. I’d rather have to paint this a couple of times than leave it all bare, as the garage is seriously damp for some reason. I need to get some spring compressors so I can take the suspension off and clean it without removing an eye.

Tidy Up Time

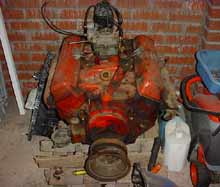
Skint and not enough space in the garage with all the rubbish in there. There’s 2 fridges and a dishwasher from moving house, and a barbecue etc that should be in a shed that I haven’t bought yet. Then theres all the bits I took off the 55 plus the old and new engine and boxes. Oh and a crane! Time to tidy up. As they are still building the estate I live on, there’s plenty of pallettes and wood knocking about. Using my best woodworking skills (ie none) I cut a pallette down so it would fit between the legs of the crane and lowered the old block onto it. Some of the left over pallette made a few handy supports.
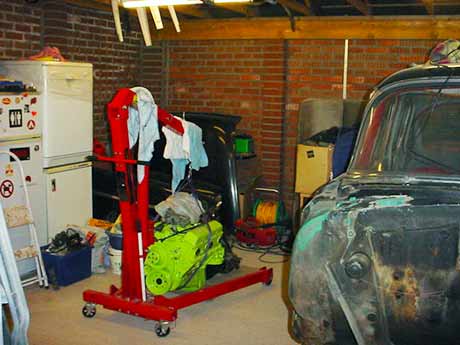
That’s the old one out of the way, onto the new one. That was already on a pallette with a box section frame supporting it. I’ve given up on the TH350 and I’m gonna look for a short tail one that’ll be an easier swap for the ‘glide. So plan B is to put the glide on for now. I got it hung on the crane and lined it up behind the new block, bolted up the flex plate and started bolting it all up.

Doity_old_block.jpg

All OK so far. Bolt the starter on. Bolt one OK, can’t get bolt 2 to line up. A quick look underneath and I can see why. The mountings are in a different position on the new block. A quick search on the net shows up a standard starter and a “staggered” one. OK. Off to find another starter. Turns out there are different amounts of teeth on certain flex plates. How many teeth are on mine? Dunno. I’ll have to pull it back apart and count em. Doh. I’ll leave it all hanging on the crane for now, and start tidying up. A few hours later, it’s looking much better.

tidy_garage.jpg

Engine and Box are Out

My cousin Bob gave me a ring on Saturday, and offered to help pull the engine and box out. I was glad of a hand, and we set about the car just after 1 pm. After a quick run of the engine without the exhausts on (Well, you gotta have a go havent you?) we took the wings and front off. Every bolt and screw just undid, which is amazing after working on rusty Brit cars. By about 6 we had everything ready to pull the engine and box, and half hour later it was on the floor. And thats when it got confusing. The “TH 350″ that I got for the Dooster, which was hopefully gonna go in with the 350 turned out to be 3” longer than the glide. Doh! Chop the prop? Get a new tail bit for the box?

luckydipbox.jpg

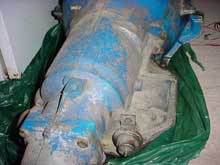
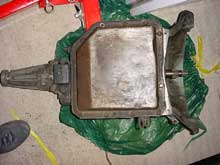
Plan “A” was to get a new tail, so I looked for any numbers stamped on the box. Not a one to be seen. Hmm. OK, Get my TH350 book I bought off ebay and compare. Looks a bit like but not quite. That’s the passenger side of the car at the bottom, and a fridge from the old house at the top. I need to tidy up.

luckydipbox2.jpg

So onto the net. I looked at every GM box I could find, and it doesn’t look like any of em. It’s got a pan shaped like a TH350, but it hasnt got all the same bits sticking out. It was out of a late 70’s/Early 80’s Monte Carlo, which had TH200’s or 350’s in apparently. I just need someone to say “Yes mate, it’s a 350” or whatever so I can revisit plan “A”.

luckydipbox3.jpg

According to the info I found, a TH200 has stuff stamped into the pan. Nothing to be seen. So is it a TH350 or is it a TH200 that’s got the pan off one? I dunno. Someone will. It’s blue, so doesnt go with the green block! Time to get polishing I think If it goes in the car.

engineserial.jpg

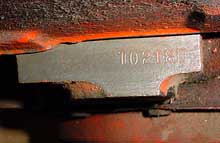
Now the motor’s out, I could find the serial and casting number. Engine serial is T0218D which I reckon makes it a 1957 283 cast
on the 18th of February in Tonawanda 283ci 185hp unit. The other numbers seem to tie up too (3746826 on the Inlet manifold).

Up to see the car

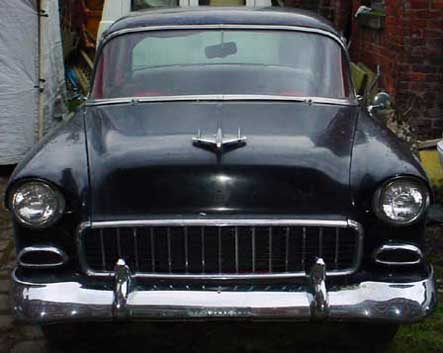
I had seen the car for sale on Duksville’s web site before I bought the Dooster. It was more money than I had, and although I was very tempted, I stuck with the Dooster. A month or so after I got the car, I decided it wasn’t for me, and asked around if anyone was interested in buying it. A guy from just down the road in Cardiff bought it and the money was going to go on the new house we’d just bought. And then I had another look at the advert on the site. It was £600 cheaper. I rang Geordie Paul and told him I was interested, and he offered to trailer it to his yard in Cheshire for me to look at. I took my wife Lisa with me by offering to buy her lunch on the way back, and off we went.

55_front_on.jpg

When we got there, I fell in love with it. I said “Wow”. Lisa said “What a piece of Shit!”. It was leaking like a sieve, was in a mess internally, but looked solid and amazingly rust free. Paul showed me a few patches that he’d spotted, but nothing major. He made us a cup of tea, I gave him a deposit and that was it. A few weeks later after we’d moved, he trailered it down to Wales for me for sensible money, and helped me push it in the garage. Top bloke. It didn’t fit in the garage, despite me getting the builders to check the length of the garage, but it was only an inch or so, and the door could be sort of locked. And then I started to take it to bits.

55_Side_On.jpg