More eBay Madness

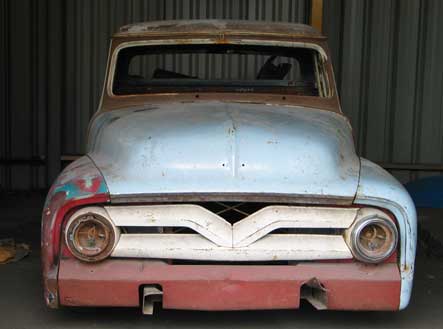
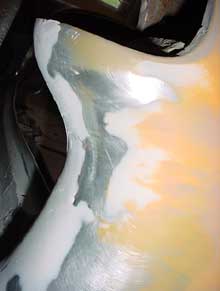
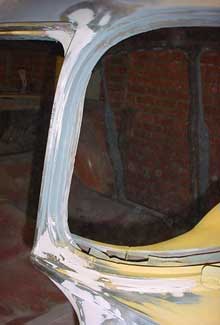
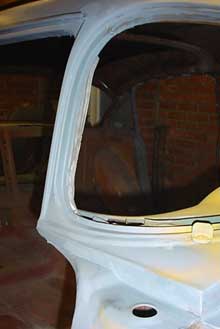
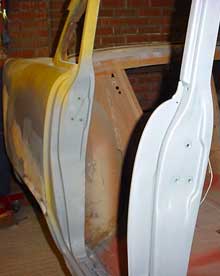
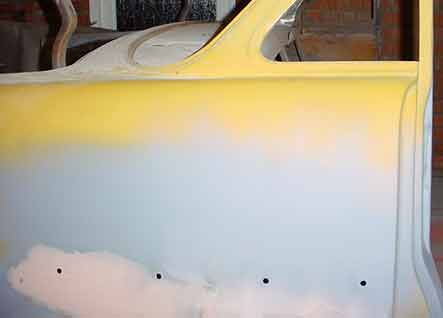
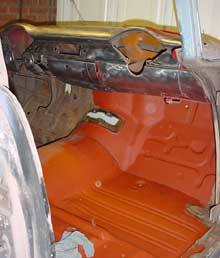
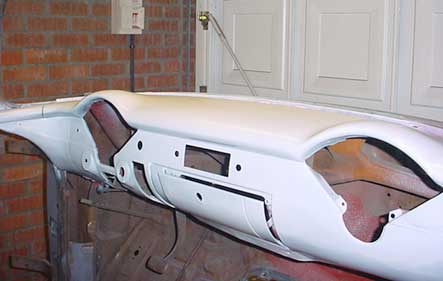
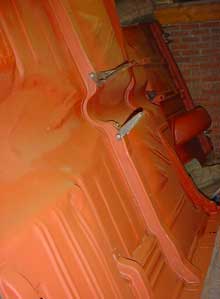
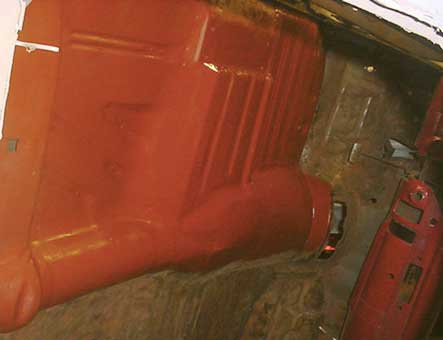
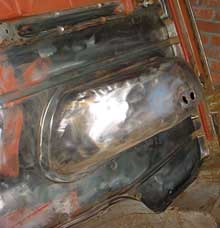
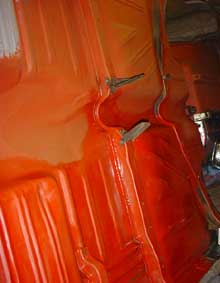
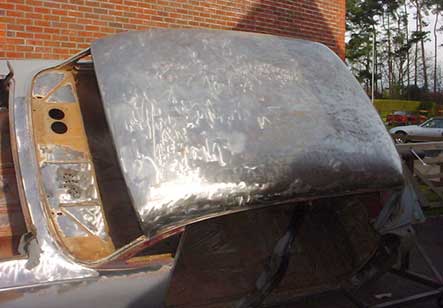
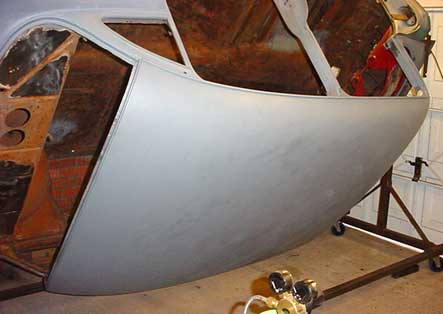
One of the people who is on the UK Hotrods mailing list mailed that he was selling an F100 pick up truck, which is one of the cars I’d wanted for years. I had a look at the auction, fell in love with it, and immediately bid on it. I got outbid within a few hours and after bidding again decided to go and have a look at it. It’s had the roof chopped, been lowered, and seems to have Chevrolet running gear underneath. The bed is full of various parts, and theres a windscreen on the floor of the cab.

Front_At_Oagys.jpg

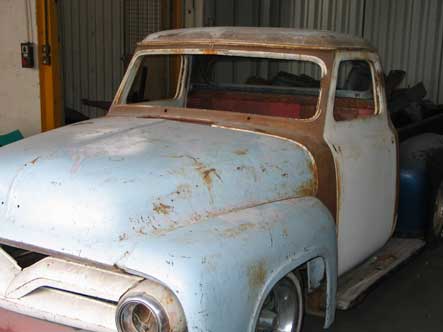
After looking at it, I decided to leave it till the end and have another go. I had too much to drink, put too much money in, and won it in the last 10 seconds There’s probably a valuable lesson in there somewhere. I had nowhere to put it, as the garage was full of Bel Air, and no way of getting it home. I spoke to a mate of mine who offered to store it for me in his warehouse, and also got hold of a flatbed recovery truck to collect it. After a few scrapes getting it on and off (it’s as low as it looks) it was safely tucked away till I’ve got space and time to do it. I can’t wait.

Head-on-at-Oagys.jpg

Sun and Sand

Beautiful weather this weekend, wheeled the car out of the garage to work on it. It was hot enough that the wheels of the rotisserie sank into the tarmac and I burnt the back of my neck, but it was nice to be out of the garage. Started off on the passenger side and finished off the rounded join of the wing and the boot. I’d ground out the lead at the top of the wing as well, so filled and sanded that too.

SandedInTheSun.jpg

The other side needed a lot more shaping under the light, and the lip at the bottom of the wing needed building up. I built up a few layers of filler, and roughly shaped it with a metal file. The filler set really quickly in the warm, so by the time the sun started to set I was happy with both wings apart from two or three pinholes here and there. I wanted to have a go with the gun I bought the other day, but it was too late, so I fired some thinners onto the garage wall as a test. Will have a go for real soon.

TotherIntSun.jpg

One Down, Loads to Go

The rear passenger quarter was starting to drive me mental. I could not make a decent job of the filler, and it kept ending up uneven. I ground it out and did it again and it was still not right. I ground it out again and looked at the metal properly and realised that it was stretched and had popped out in two places which was why I couldn’t fill it. Probably why it had so much filler in originally. I popped it back in and dented it in the centre with a pointy hammer, fill and skim and bingo. Done. At last. Another hour or so of fine sanding and I gave it a light coat of rattle can primer.

RearQuarterFlat.jpg

It looks uneven in the photo above, but it’s just the filler showing through the paint. Feels and looks good. I carried on round to the join on the fins and started replacing the lead that I had ground out. I was using U-Pol filler now, and it’s loads better than the P38 I was using previously, much finer and less air bubbles. I bought some 1k primer and a gun on Friday, but after some discussion with people who know better, and a bit of research, I’ve decided to take it back and buy epoxy primer. Lets see how it goes.

WingEndStarted.jpg

Filling and Sanding Lots

I spent a good few hours filling and sanding again this weekend. I am slowly getting the hang of it, but got so fed up with it that I stopped and set about the remaining paint round the doors with the grinder brush. Felt better after that, so scraped all the filler and redid the back quarter. After sanding a bit of it down again, I realised that there was a high dent and had to hammer it back down and fill it yet again. At least I’m getting the hang of it!

FilledCorner.jpg

I was also filling the pitted areas around the screen and where the old lead had been ground out. It’s hard to see if you’ve done it right or wrong, so I dust it over with primer, and then clean off the areas that need re-doing. Not the best way I’m sure, but it works. Still need to buy a spray gun and some primer and stop using aerosol cans.

CornerBitOfPaint.jpg

Rear Passenger Quarter

Wheel.jpg

Got a steering wheel off Ebay which I think is cool this week.It’s off a sixties Bel Air apparently. I’m into the sand fill sand part of the bodywork and will be for quite a while I reckon. Cleaned the pillar off on the passenger side, and gave it a quick spray with rattle can primer, then started skimming the dents I’d found in the rear quarter.

RearQuarterNPillar.jpg

I haven’t had that much time to work on the car, and this is a time consuming process if you don’t know what you’re doing. And I’m learning. Slowly. After a few hours work, I had one of the dents done to the point where I was happy with it, and the others just needing a final sand (hopefully!) to be done. Not the most exciting pic ever, and I suppose most of them wont be on the bodywork side, I’ll try and spice it up with some explosions and stuff!

RearQuarterTopPainted.jpg

Inside Floor is Done

Did some cleaning (for a change) again and got the other half of the inside floor done. I felt on a bit of a roll, so did most of the dash before the last of the cleaning discs disintegrated. I switched back to the grinder brush for an hour or so and did some of the bits that were left.
I cleaned a lot of the gunk and glue from inside the boot and the edges of the roof that we’re covered by the headlining.

Floor_And_Dash.jpg

I know nobody will ever see it, but at least I know it’s done. By this point I’d had enough of using the grinder as it’s starting to vibrate sightly and makes your fingers numb after a while. The roof soundproofing was next, and I took the remains of it off with a wallpaper scraper, then went over the entire lot and scraped the tar residue off. You can’t clean this with power tools as the tar melts and just moves around. I’ll wipe as much of it off with thinners as I can then spray over the top of it. It’s lasted fifty years without paint on, so it should be fine. Brush painted the floor with red oxide, then next day quickly cleaned the dash with thinners and sprayed with some white primer. It was cheap stuff, and sprayed badly, but it gave me some idea of what it’ll look like done. I’m like an excited kid again!

Shiny_Dash.jpg

And Now onto the Inside

Managed to get home early from work today after driving 240 miles for a cancelled meeting. I got some paint on the way home, more titchy tins though, and got in the garage.

Under_Finished.jpg

Finished the rest of the underside off, just the snubber bracket and handbrake brackets left to do, as I couldn’t clean them off properly. I’ll put a couple of coats of underseal over the top of it. I probably should put stonechip on there as well. As long as it doesn’t rust, I’m happy.
It still wasn’t that late, so I got inside the tub and cleaned the drivers side floor down to bare metal. The rear passenger floor is pitted, but cleaned up OK. A quick degrease and some paint. It’s nice to see the rust and muck dissapearing from the car and paint in it’s place. It all looks a bit odd in the photos as it’s still wet. Looks damn good to me after looking at how it was for months.

Inner_Floor.jpg

Finished a bit! (Well Nearly)

Decided to move the rotisserie a little bit to one side so that I could spin the tub the other way and do some more on the floor. I’d taken the light fiitings down yesterday to enable me to turn it a little further, so was confident it would be fine. I turned the body over slowly and checked that I wasn’t going to hit anything. As I was doing it, the casters rolled away from me and the tub went over completely and caught on the roof.

ShinySpare.jpg

I was stuck holding the rotisserie with my leg and the tub with my body. There was nothing in reach that I could use to prop it up either. After ten minutes of careful movement, I managed to get around the other side and kick over some offcuts of square tubing, and wedged the body in place. It had only scuffed on the roof timbers, and I couldn’t see any damage, but there wasn’t enough room to move it closer to the wall and spin it back, and I could’nt get it out the door as it was.

Painted_BothSides.jpg

After moving it slowly in every direction for about half an hour, I got it to clear the roof and spin roof side up. Handy to know I can. I pulled it away from the wall and spun it the opposite way and made sure it hit the roof timbers as a stop. A few more hours with scraper, polishing pads and grinder brush and I’d cleaned all of the underseal and surface rust off. Cleaned with thinners and rags, and then ran out of paint about half way through. The shops were shut so I’ll have to get some more and paint it one night this week. Nice to nearly be finished on one bit! Once it’s all covered, I’ll paint it with a few coats of underseal as well, and hopefully it’ll be ok for the next 49 years.

Cleaning the Roof

After doing the underside of the car so easily with the cleaning discs, I bought a load more and decided to do the roof if the weather was OK today. It looked like rain, but I chanced it and wheeled the tub outside to work on. While it was out I took the light fittings off and moved them up into the roof to enable me to spin the car round a bit further in the garage.

Roof_Buzzed.jpg

One disc and a few hours later i had a bare metal roof, was black from head to toe, and the drive was covered in a layer of dirt. There was more filler in the roof, and like all the other filler I’d found, seemed to be for no real reason.
I blew the dust off with the air line, then cleaned the bare metal with thinners and polished it off with a clean rag. Being unable to get at the roof properly meant it needed to be painted outside, but as this was only to cover the bare metal I wasn’t too concerned. As I shook the rattle can paint, out of nowhere some flies landed on the roof just to remind me why you don’t paint cars outside. Within ten minutes of painting, it started to rain, so it went back in and I called it a day. John Fraser popped over in the night and lent me his spot blast gun. Will have a go of that on the awkward bits.

Roof_Dusted.jpg

Getting Somewhere

Didn’t get much time on the car this weekend as real life got in the way. I needed a new grinder wire brush, but the welding supplies place I normally get them from didn’t have any. What they did have though were paint removal discs. Funny looking things with a hard plastic mesh on. Thinking they had to be better than nothing, I bought a few.

Floor_Cleaner.jpg

Well, they turned out to be amazing at cleaning paint and underseal off. It went through it in seconds, leaving a clean polished surface. They break up easily on rough edges, but on the flat they’re fantastic. I cleaned much more than I expected to, and had to vac up handfuls of old paint and dirt. With no more time to work on it, I had to leave it for the day. Rather than let it go rusty, I spent an hour on sunday night cleaning off the tar residue with thinners, then gave it a paint with red oxide primer. There are still areas around the edges of the panels that will need grinder brushing, but it’s looking more and more like a rebuilt car.

Floor_Primed.jpg