Core Support Crossmember Mockup

After throwing away the extremely wonky and crappy looking core support crossmember, it was time to make a new one. I got the frame back off its side, put the cab brackets on and dropped the cab in place. With that done, I levelled up the front of the chassis and hung the wings supported on wooden blocks. I then jacked the core support into position and moved it around till it all sat in the right place.
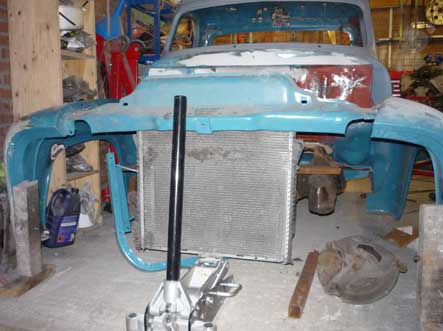
That gave me a position for the bottom of the core support so after lotsof measurements from different points on the frame I took it back out and got some scrap bits to make a guide. After hours of little adjustments followed by re-checking it all over again I was happy with the position. I tacked it all together so I had a reference to work off and had a cup of tea and a think. The ends of the frame were angled outwards (at different angles too), so after even more measurements I set about the 2×4 box section I’d bought to do this. Unfortunately the drop was too steep to do in one piece (I would have had to box the tops and bottoms of the angle) so that one went in the scrap box and plan B was formed. This was to notch out the end for a piece of straight box section to drop down. With it tacked in place, it was time to call it a day. Pretty pleased with it all.
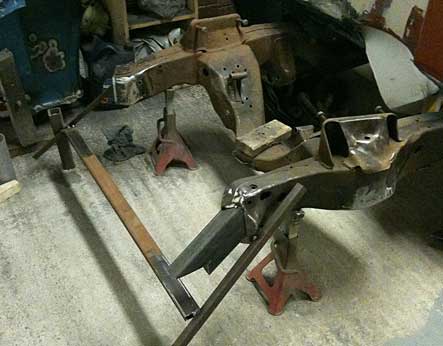
Few more Bits and Bobs on the Frame

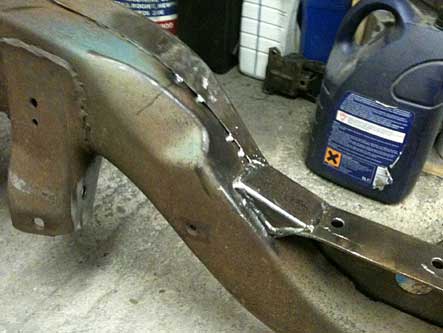
I didn’t like the way the top of the old frame had been joined into the Camaro clip, it had been cut too short by the look of it and hammered down until it touched the clip. It didn’t look the strongest of joins to say the least. A couple of quick cardboard templates later, I cut out some pieces of box and welded them in place.

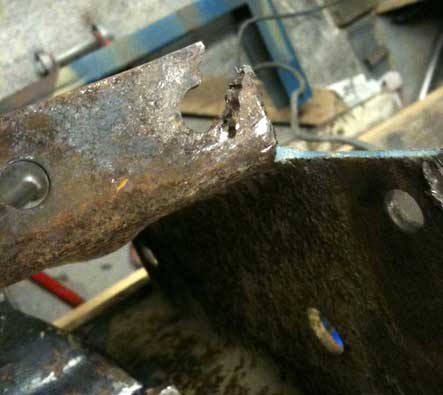
Next on the list was to repair the outriggers ready to put them back in place. They had been hacked about when they put the clip on as well, so I’d taken them off to straighten them out and repair the holes.

A little work with some scrap and the gas torch and they were as good as a fifty year old bracket gets I suppose!

IMG_0120

Re-Shaping the Brake Bracket

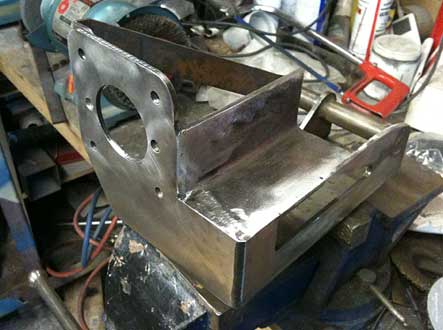
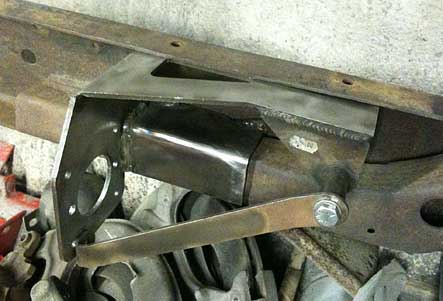
I bought a brake pedal and bracket to fit a standard booster off ebay a while ago. The Camaro frame was in the way of bolting it in as it should, so I trimmed it till it would fit and then set about strengthening it again. I cut a piece of angle to fit and then welded it in place.

I don’t intend running a booster, so I drilled the bracket to fit a Wilwood manual master while I was at it. Not sure about how I’ll fix it to the frame yet as the bottom mount is covered by the Camaro frame. Maybe a long bolt, or just weld it in and call it a day.

Making space for Air

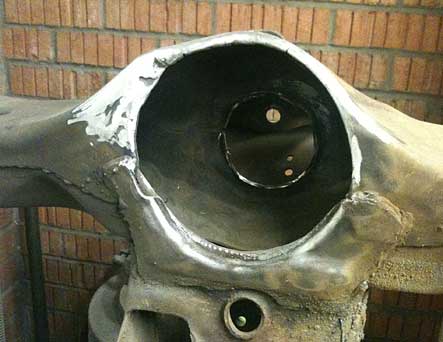
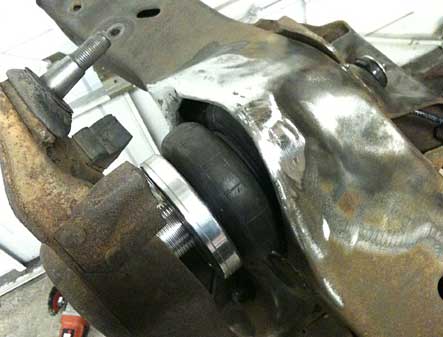
With the frame on its side to work on, I could get to work on the spring pockets. I put the lower A arm back on temporarily, and bolted the Shockwave front shock to it. They were too wide for the pocket, so I cut all the way round the outer edge and folded it all back until they had a decent amount of space around them. Unfortunately I found the top spring retaining ring hit the top of the shock, so I had to open that up as well to give it some clearance. I’m sure it would have been an easy job with a plasma cutter or something, but it was hard work with a grinder and a die cutter. Nobody will ever see it apart from this pic, but I still did the best I could with it.

With that done, I inflated the shock with the air line and checked I still had enough clearance. It was a bit tight in places, so I opened it up a bit further then welded all the cuts up and smoothed them off. With one final test fit and inflation I was happy it would all be OK and pulled it all back to bits again, and turned the frame over. The re-shape of the transition and the pocket on the other side took half the time as I knew what I wanted to do and that was another job done.

Making a Start on the Frame

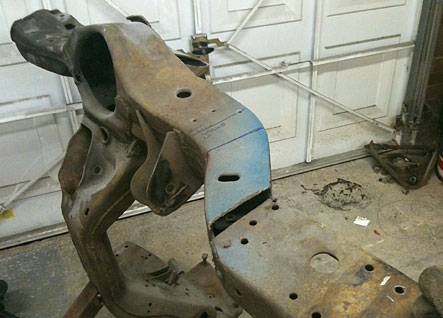
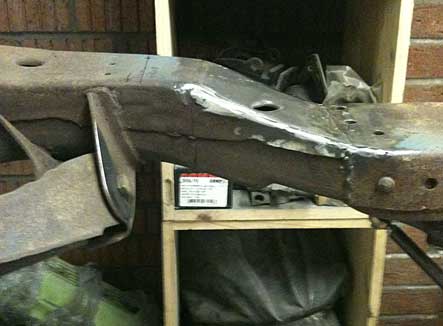
I had decided that I should leave the bodywork alone for a while till it’s all back together and can be worked on properly, so it was time to look at the frame. I hated the way the front clip stuck out of the frame rails and wanted to blend it in properly. Before I went too far I double checked that it was straight as the piece I chopped off the front was so bad but luckily it was correct. I welded a piece of box section to the crossmember to hold it up on it’s side, and supported the other end with wood and set to work.

I marked up where I wanted the bend to start, then marked up the pie cuts and sliced them out with a thin blade. I put G clamps on the end, then heated the lined I’d marked with the acetalene torch until it glowed then tightened up the clamps until it was bent into position. Once it was cooled down I pulled off the clamps and tacked it in, then cut up one of the pie shaped pieces to fit in the gap between the rails. With it all finish welded and ground down it looked a million times better, and hopefully a bit stronger too.


Front Valance Gets filled in and Repaired

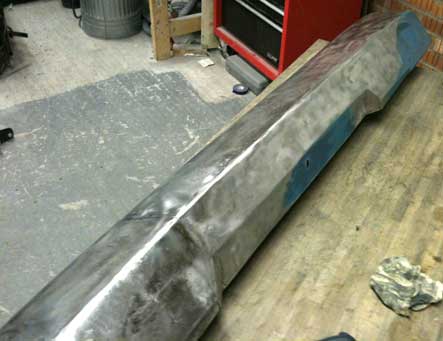
With some paint on the cab, I moved on to some of the other bare metal bits that were sat in the garage. I had two pretty ropey front valance panels and had started to make one good one from them. I didn’t plan on running a front bumper so I wanted the bumper holes filled in too. I cut out the openings and cut patch panels from the worst one before tacking it all together. Unfortunately neither of them were in good shape in the centre section, so it took a lot of heating and hammering to get it close to the right shape.

BumperHolesFilled.jpg

Some of it was completely beyond hope, so I had to make a few patch pieces to bring it all back to roughly the right shape. There were also a few bad splits and cracks round the edges but with all that done and cleaned up with the sander it all looked pretty good. It still needs some filler but I’m pretty happy with the result.

ValanceCleaned.jpg

First bit of Paint

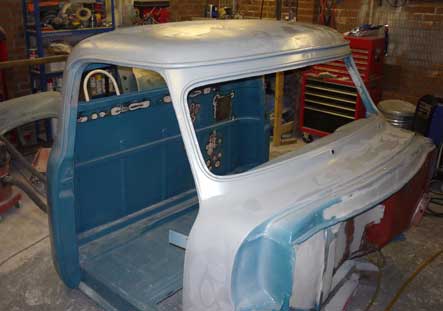
The weather here is getting increasingly colder and wetter as we head towards winter, and the bare metal cab sat in the garage was starting to worry me a little to say the least. I decided that regardless of what state it was in I was going to put a light coat of sealer on when I finished on Sunday. It’s been a while since I painted anything, and a quick check of my Devilbiss gun revealed it was leaking air. I’d lent it to someone, and they must have taken it to bits, lost the seal, and given it back to me, which was nice. Plan B was the cheapy gun I had, so the kids got to spray paint the patio with water to "test" it. I had put some more filler on in patches last week, so I sanded it all down again with the long sanders before switching to a block and some 80 grit. After an entire afternoon of sanding, bits of it were spot on, and bits of it were crap. I decided to crack on and paint it with a light coat as planned, rather than risk having to re-sand it all again. Cab-Partial-Prime.jpg I’d forgotten how satisfying it was to suddenly see everything in the same colour, and despite not being perfect it’s still looking pretty good I reckon. The filler shows through the light coat of sealer which makes it look worse than it is. Plan is to guide coat, sand and fill it before doing it again, but it should give me time to get the rest of the bare metal ready too. Still pretty happy overall! Roof-Primed.jpg
Roof gets Filler at last!

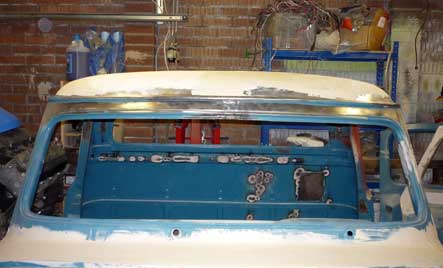
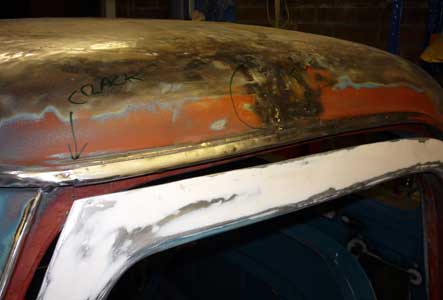
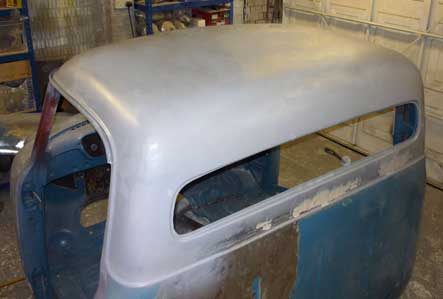
After what seems like forever, I finally got to a point where I thought I wasn’t going to get the roof any better without cutting it off and starting again. With that being a bit too drastic for me, I decided to use filler instead. It was surprising how much better it suddenly looked with just a thin skim of filler on. Roof-Filled.jpg It wasn’t long after that I remembered how much I hate sanding panels down. I’d bought myself some long flexible sanders which made a world of difference in trying to get the shape right on the curves of the roof. It’s still extremely easy to go too far tho, as I discovered. As you get closer and closer to the right shape the odd high point shows up too so they are getting tapped down gently at the same time. Pretty happy with the progress tho. Filled-Cab.jpg
More New Gutter

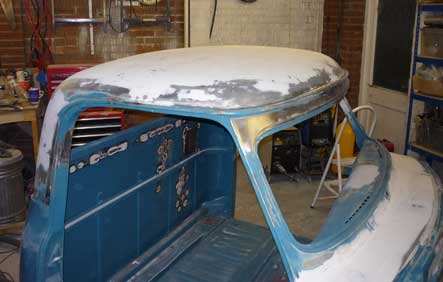
With the door gaps done, I realised just how bad the rest of the gutter was on the drivers side. I’d already made a new piece for the end, so I decided to cut off the rest of it and make some more as it was beyond saving. After a few hours with the hammers, files and the shrinker it was replaced with a nice shiny new bit

More-New-Gutters.jpg

Sorting the Door Gaps

I had been thinking about what to do with the door gaps as I still wasn’t happy with them even after chopping them up and extending the frame.
I hung the door properly and did my best to get it to sit evenly. The top hinge didn’t feel right, so I took that back off and set about it with a hammer until it worked properly. With that done the gaps were still big enough to get a horse through, complete with rider.
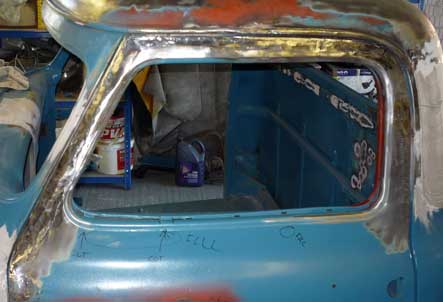
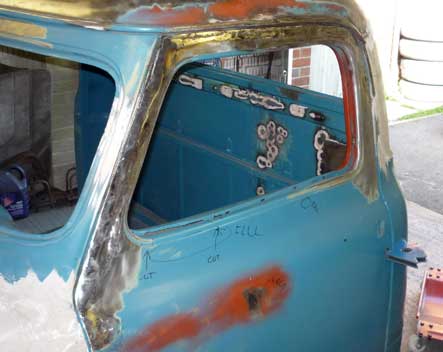
I finally decided to TIG filler rods onto the edges to close the gaps up, then once I was happy I was pretty close, I went over it all with the MIG to “fill in” the joins between the rods.

Door_Edge_Extended.jpg

After a lot of careful grinding and hand filing I decided it was time to call it a day. It was a lot of work, but there’s not much else you can say about it! The end result is much, much better than it was.

Gaptastic.jpg

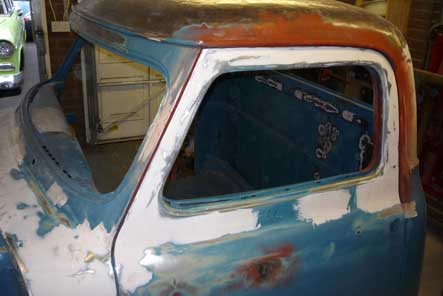
After a good clean with panel wipe and a quick skim of filler the lumps and bumps mostly dissapeared. Needs a bit more work before I call it quits, but I’ll leave it alone till it’s back on the cab now.

Door-Edge-Filled.jpg