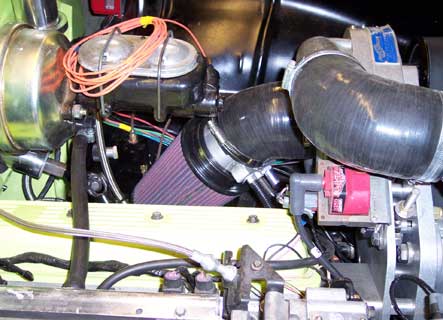
Falling behind on the site again, and real life has got in the way of the cars a lot. The Camaro had been giving me a load of knock problems which I decided were not being helped by the 52mm throttle body. I pulled the stock one off the ’55 which sorted the Camaro out, but left me with a headache on the ’55 throttle cable. I’d cut it to suit the stock bracket, but it was too short with the bigger cam on the side of the 52mm body. I could either do it the easy way and swap them back or make a new bracket. 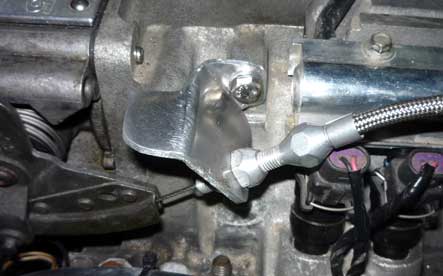 After a lot of measuring and re-measuring I ended up with a cardbaord template for a new one and set about making it out of aluminium. After a few hours of messing about I was happy with the result and it was ready for a test run. With the logger hooked up, I took it out for a run, gave it a little bit of a tune, then gave it a blast. No change 0-60, still at 5.9 seconds, but it shifts a lot nicer which I guess is the engine getting more air at a given throttle position. Looking forward to driving it again once the new brakes are on.
Category Archives: Engine
Intercooler gets moved yet again…
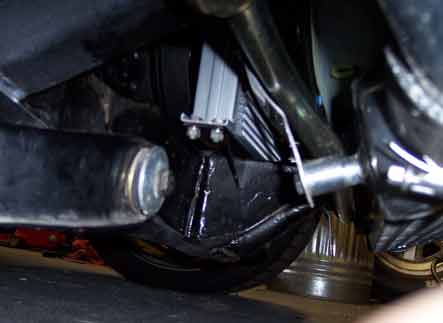
I finally managed to get my front anti roll bar (or sway bar depending on where your from) picked up (Cheers Mark!). I wasnt impressed with the amount of roll when I drove the car, so I’m hoping this will go a long way to sorting it out. I’d downloaded the instructions from the Danchuk site and was hoping I wouldn’t have to move the intercooler to get it in. Unfortunately when I got it, I had a front bar, but a rear fitting kit. The only real issue was the end link brackets needed to be made up to suit. 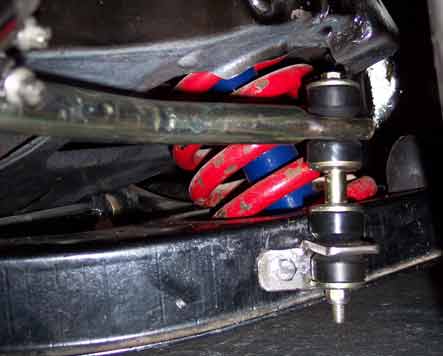 After a lot of fiddling about trying to get it to clear the intercooler, I gave up and pulled it off to give me some more room. With it out of the way, I set it as far back as I could, and measured up some bits of angle to make the mounts. I drilled them out as big as I could, then took it out with the die grinder to fit the rubber mounts. I didnt want to weld them on to the powder coated A-arms, so I made some mounting tabs and welded them to the sides of the angle. With it all bolted up I had another look at the intercooler which needed to be about an inch further forward. I re-bent the front brackets and stuck some spacers that came with the Procharger on the back. I’ll pull it all back off again and paint it when I connect the pipework back up. Doesn’t seem like much but it took a long time to do.
Missing Boost Found
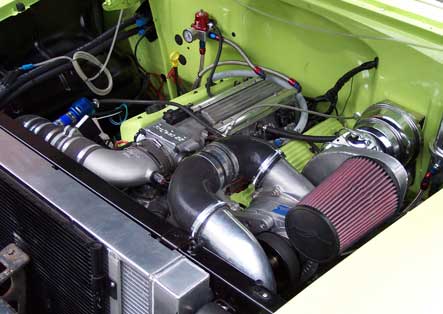
Zane made a connector tube (or fish as he christened it, as it ended up fish shaped!) so I set about fitting it. Its so tight that I had to remove the Procharger and fit it before putting it back on. Some of the bolts are almost impossible to get at so it took a few hours but it looks good done and should help to keep it cooler now I’m not drawing air from above the headers. 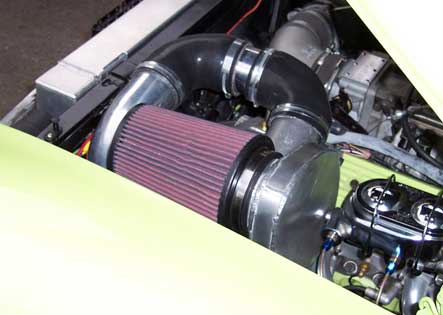 While testing the brakes the other weekend I noticed some compressor chatter as it came off accelerator, so I decided to move the blow off valve to just before the inlet elbow to see if it helped. I found that it was opening as boost increased and dumping constantly. A check of the vacuum feed showed it to always seem to be in vacuum even when there was enough boost to swell the inlet piping. I swapped the dual piston valve out for the old single piston but that made no difference either. I kinked the pipe and got it to dump only when the throttle closed, so after a bit of experimentation made a restrictor with a piece of bar and a jubilee clip on the pipe. This allowed me to adjust it so it only dumped when it should so it’ll be interesting to see how much more performance I get.
Half a Gearbox
I re-flashed the computer last week and fired it up to test the computer. It ran rough, and when I plugged in the laptop it showed an injector circuit fault. I’ve had exactly the same fault before when a fuse went on the Camaro, so I got all the fuses out one by one and tested them but none were gone. I had the dash back off again and checked the plugs were seated into the computer properly, still the same problem. After a load more checking and double checking I found a loose injector plug. What a pain in the ass. With the dash back in again, and no faults showing, I took it round the block for a test drive. The brakes were poor, so I took it easy. On the industrial estate at the back of the house it got a long enough run to shift up to 3rd, or it would have if it didnt slip and go nowhere when it came out of 2nd.
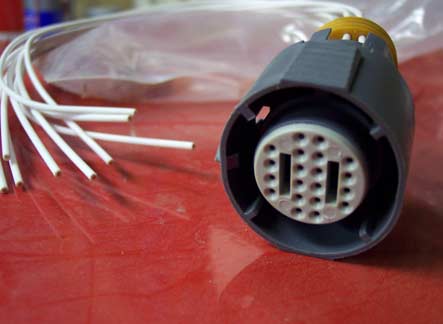
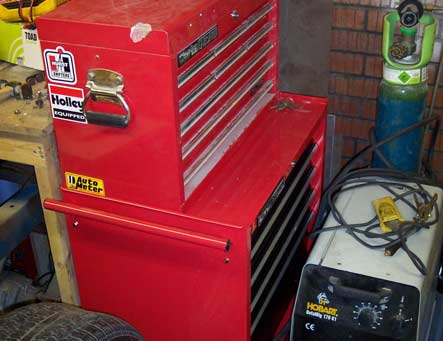
On Saturday I had a big tidy up and put all my tools in the new toolbox I got off ebay. It’s on wheels, so Tommy had to do a few laps of the house sat on top of it first. It’s nice to have everything in one place for the first time. On Sunday I got the car up on stands to get at the gearbox wiring, and tested the 2-3 shift solenoid circuit wires. Nothing wrong, so I put the extra pin in the plug for the PWM clutch while I was in there, plugged it all back in and tested it again. Sadly it’s exactly the same, so I guess it’s a gearbox rebuild coming up. While I was under there I also put the padded P clips on the battery cable and called it quits.
Computer Mk II
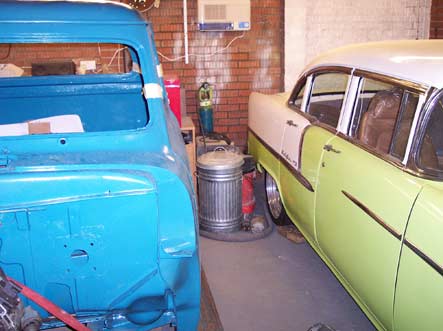
The Camaro got a new engine and trans a few weeks back, and the PCM needed to be re-flashed for the later trans. Unfortunately the extension that the laptop was plugged into wasn’t switched on and I ended up with a blank PCM when the battery went on the laptop. The camaro was at Zannetec so the ’55 had to give up it’s PCM to get it moving. I ordered another one from the US and some new flash chips to fix the dead one and waited patiently. The truck was also coming home from having it’s body blasted so the garage needed a massive tidy up which I did the next weekend.
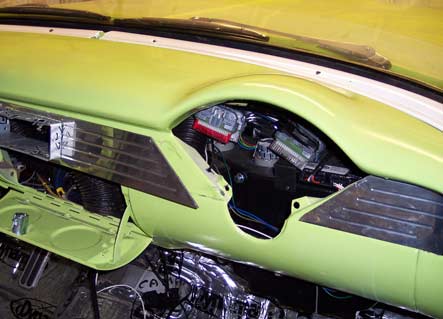
With enough space to get the truck in it wasn’t so easy to work on the ’55. After a bit more tidying up and moving round I could move the truck out and have more space than I did a few weeks back. The PCM turned up this week, so out went the truck and I set about re-fitting it. I decided to turn it the other way up to give me more clearance on the wiper drive, and ground the fins off so that it would fit tighter to the dash. A new clamp on the top and I put it all back together again. I couldn’t test fire it as Tommy was asleep so I wired up the stereo while I waited. With that done and Tommy up I turned the key, the fuel pump whirred and nothing happened. The starter circuit wasn’t working. I decided to re-do it from scratch as I wasn’t happy with how it was done. After a few hours of messing I had one less relay and was ready to go. A turn of the key and it fired right up. It needs the ’55’s tune stuck on there now and I’m back where I was a few weeks ago.
Intercooler Again
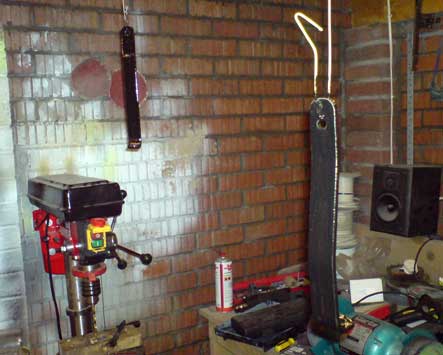
When I drove the car the other day I heard a rubbing noise when the car was on full lock. I had a quick look and couldn’t see anything so planned to have a proper look around later. I was thinking about it the other day and decided it was probably the intercooler plumbing. When I had a look at it I found some rub marks on them and the wheels now just touched it on full lock. When I did this initially the car must have needed to settle as I checked it at full lock. I pulled all the tubing out and started again from scratch. With a cut down aluminium 90 instead of the rubber elbow I got a tighter run that cleared the wheel on lock. 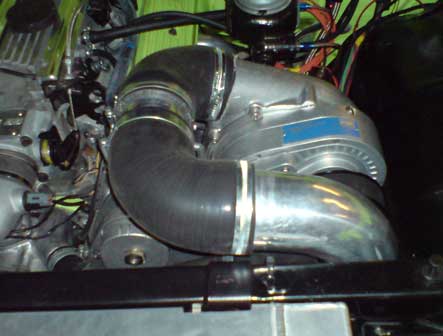 While I had it all in bits I decided to re-mount the intercooler so I could get a few more inches of clearance. It was mounted tight against the core support bracket so my only option was to cut off the rest of the front panel support and have it at a shallower angle. The front of the intercooler was mounted on a short tab from the front panel, and I wasn’t convinced a longer one wouldn’t sag. I decided to make a tab from a piece of steel bar to mount it to the bumper bracket. My newish pillar drill decided to pack in at this point which made it all take twice as long as it should. After a lot of messing about I mounted the intercooler and it fitted perfectly, about an inch or so higher than the bottom of the chassis crossmember. Even though nobody will see it I rounded the edges over before I painted them, I’m in danger of doing stuff properly at this rate.
Fun with Coolant
Last weekend I connected up all the coolant hoses and filled the system with water and anti freeze. It didn’t leak, which surprised me so I started the engine and let it heat up. There was a steady drip from somewhere that was running through the intercooler. I shut it off and looked everywher for the source of it. I checked all the hose clamps, tightened the radiator petcock and tried again. It leaked again so I spent the next few hours trying to find it. Eventually I spotted a mist of liquid from the fan, and spotted a tiny hole in the core of the radiator. I drained it all down, and pulled it back out.  I had a go at patching it with solder, but it wouldn’t stick to the aluminium and leaked again under pressure. Zane managed to patch it for me and this weekend I put it back in again. I had also got the hinges back, and they were in the way of the air filter. After a few goes at trying to squeeze it in I gave up and put it below the master cylinder as I’d planned originally. I clamped it all up and filled the radiator to above the point where it had leaked before and started it up and left it warming up. No leaks, and not much fuel left either.This is certainly a thirsty motor. I’d better get the data logger wired in and keep an eye on where the sensor reckons the engine is. I’m back to where I was a week ago, I hate little problems like this.