My new stainless tank arrived this week along with a load of parts to repair the Camaro. It’s got a fuel injection pump inside the tank, so it needed wiring in too. It should have been a quick and easy job to do, so I dropped the existing tank down and removed the old straps and mounting bolts. With the tank on the jack, I put it into place and tried to do up the new straps only to find that they seemed about an inch too short. I took it all out again, then hung the straps from the lower mount and tried again. I could just get the end of the strap to touch the bolt, and after a lot of bending I got it to slide on just enough to try and put the nut on.
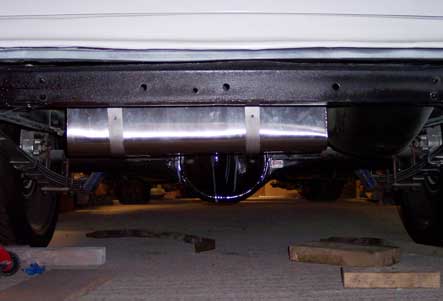
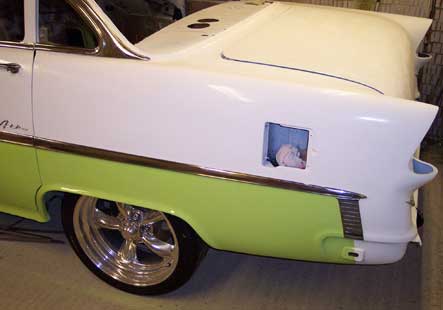
It took ages to get the nut on, and when I did it was tight after 3 or 4 turns. It was enough to hold it in place, so I moved on to the other side. That was nowhere near the bolt, so I decided to drop it down again and clearance where the filler neck hit the floor. The nut wouldnt turn at all, and no matter whet I did I couldn’t shift it. I tightened the nut on the other side up to the floor to try and hold it steady, but still would not come off. I ended up having to saw it off with a hacksaw, which was a pain in the tight space. I then could not shif the nut that I’d tightened to the floor, so ended up tack welding the bolt to hold it steady, then removing the nut, and then the bolt. By this point I’d had enough, so I took the light that I wasn’t happy with out and ground it down to get a better fit. I got it much better than it was, but still too much of a gap at the bottom. I decided to give the tank one last try, and hammered in the dent in the floor for the neck before trying again with the old bolts. They fit easily, and a quick compare showef the new bolts to be about a centimetre shorter. I hate days like this.


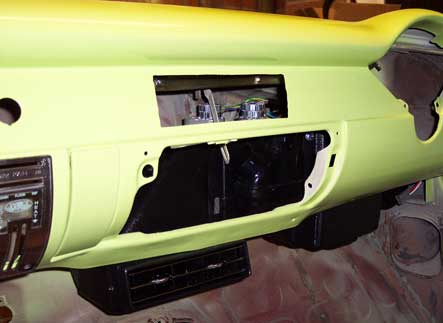
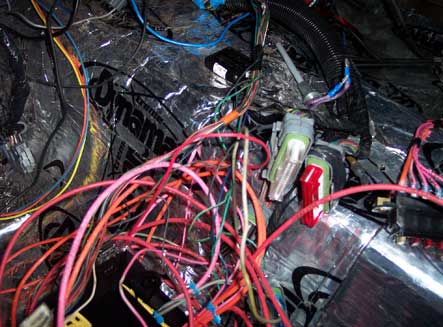

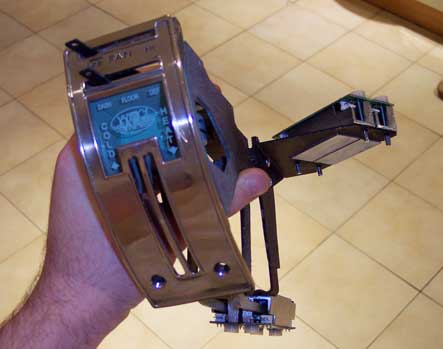
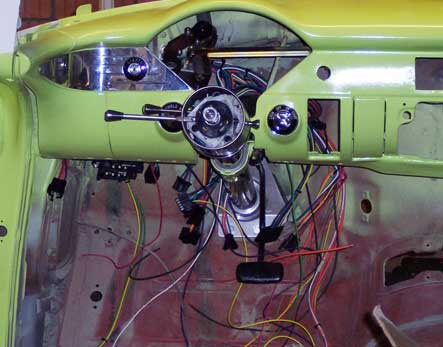
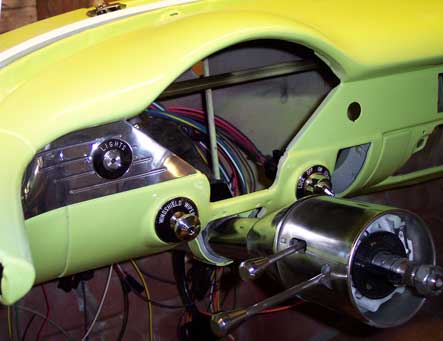 I’m trying to work out what will fit under the dash and where it all sits so I fitted the switch and bezel which suddenly made it seem closer to being finished in my head. I also wired the ignition, and the lights then got the Vintage Air AC kit from the house. A quick skim through the instructions revealed that I needed to remove the factory defrost duct, which was behind the Raingear wipers. It was a pig to get out, as you cant get to the bolt that holds it in, especially with the newly fitted switches in the way. To top it off, I dropped the spanner down the A pillar, and it took me twenty minutes to hook it back out. With it all bolted back in, I put the pipes on the Vintage Air box and swung it under the dash to bolt in. Except I couldn’t. I’ve welded up the holes it uses. So it’s either drill them back out or work out a different mount.
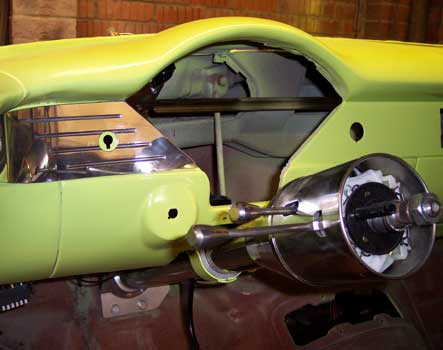
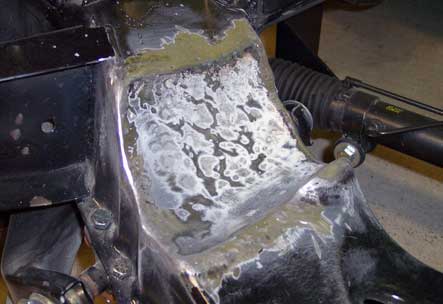
 Once I was happy that it would fit, I cut a cardboard template and cut a metal version with the jigsaw. It was awkward to get the curve right as it was different on both sides, and angled, so after a while I got it as close as I could, tacked it in and hammered it into shape as I went. With it all tacked in, I did one final test fitting just to make sure, then pulled it back out. I ground it all out, turned the welder up and welded it all in place. Once it was all done, I ground it all smooth round the edges then gave it a quick sand with the air sander just to check it was all smooth. Looks good, but I’ll give it a quick skim of filler even though you’ll never see it. I’ll know it’s there, and it’ll bug me if I leave it. The engine can go out for reboring and balancing now.