After finding no real need so far for the filler that was on the rear drivers side, I was curious to see what was under the many layers of paint. Bob came over to give me a hand, and after spending a good few hours looking for sander discs we finally started working on the car. We wheeled it out into the fresh air and started to clean it off.
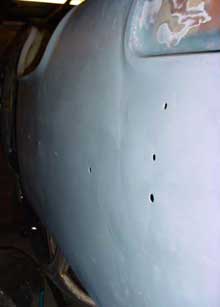
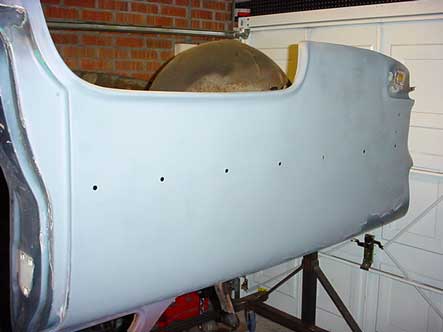
There was indeed a dent under all that filler. And not just one. It had been creased along the side, and there was a strange dent that had been beaten out with a claw hammer by the look of it. It took a couple of hours to get it mostly straight, but there were still a lot of dents to get out. I painted it to help see the shape, and you can see what it was like in the picture on the right.I spent a few hours that night researching panel beating on the net, then a good few more hours tapping the metal instead of whacking it with much better results the next day.
I got it as smooth as I could, then gave it a quick sand and opened the filler for the first time. The last time I used filler was on Bob’s beetle, and that was when I was 19! A really light skim later, I left it to dry. Once it was solid, I gave it all another quick spray over and left it alone for now. It feels good to be putting something on the car rather than taking it off.