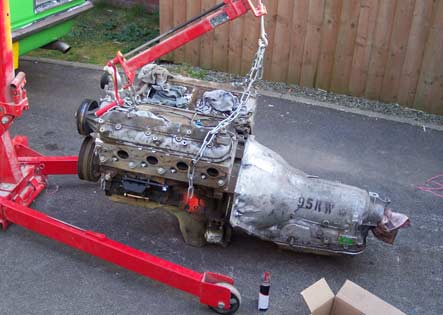
I wanted to get the engine mounted properly and work out how much of the firewall needed removing to get it to fit. I decided to just cut a big square out of it and re-make it later as the existing bulge was too far down to use. I have a spare 4L60-E with a snapped off tailshaft housing so I bolted that on to the block to hold the back of the engine up when it’s on proper mounts. With that done, I hung it roughly in position on the crane and started measuring. With the tailshaft dead centre between the rails, the engine looked visually off centre and I just could not get it to sit right.

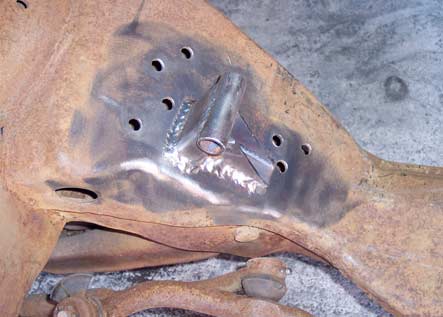
I ended up with it sat as close as I could without cutting the sump or crossmember, and cut pieces of box section and some tube to fit. I dropped it onto the new mounts, checked everything again and after a bit of shaping was happy. I scraped around the edges so that I could put them back in the same place and lifted it back off the mounts. With some supports welded on, I dropped it back into position then tacked them in place. Next day the engine came back out, and I welded them in all the way around. I also realised that it looked so bad visually as the core support crossmember was way out of line. It was nearly an inch out horizontally and vertically, so I cut off the one side and carefully lined it all back up before welding it in again. The motor then went back in and all the front sheetmetal on and I was done for the day. At worst I may have to slot the core support holes to get it all to fit, but at least its straight now.

